


Motorcycle tutorial: how to change your brake pads
6 min. read


(Article updated on 24/10/2022)
If there is one thing you should never neglect on a motorcycle, it is its braking system. It is therefore important to regularly check the wear of your brake pads and to replace them if necessary. Changing brake pads is a relatively quick operation. About twenty minutes per caliper should be enough.
Contents:
- When to change your brake pads
- How to find the right brake pads
- What do you need?
- Removing the calipers
- Removing the brake pads
- Reinstalling the brake pads
When to change your brake pads?
To find out if you need to change your brake pads, you will need to take a direct look at them. Most have a small slot in the friction material that acts as a wear indicator. If you can no longer see this slot, it is time to change your brake pads! If they do not have this wear indicator, then you will need to estimate their thickness. The friction material should not be less than 2mm before being replaced.
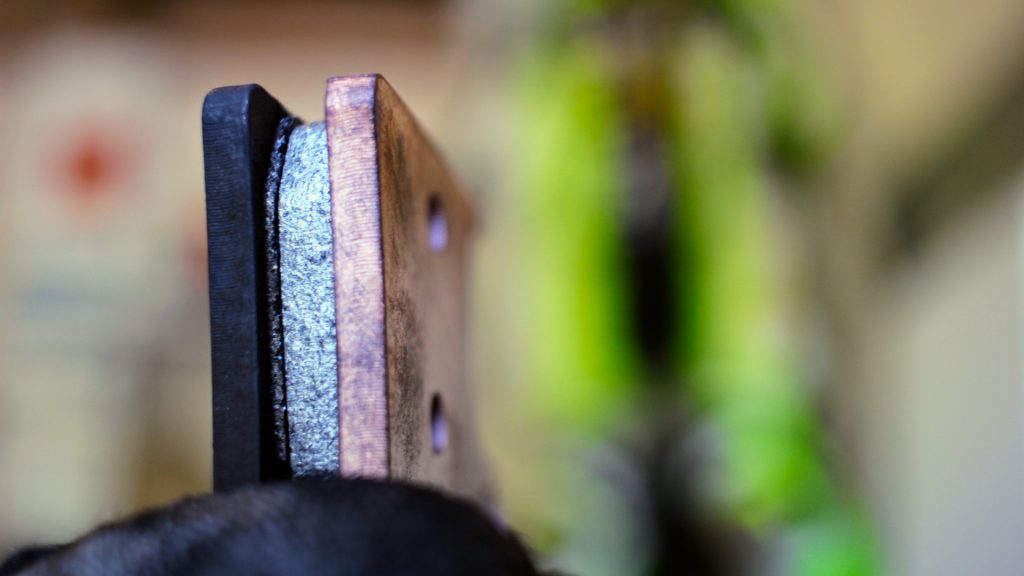
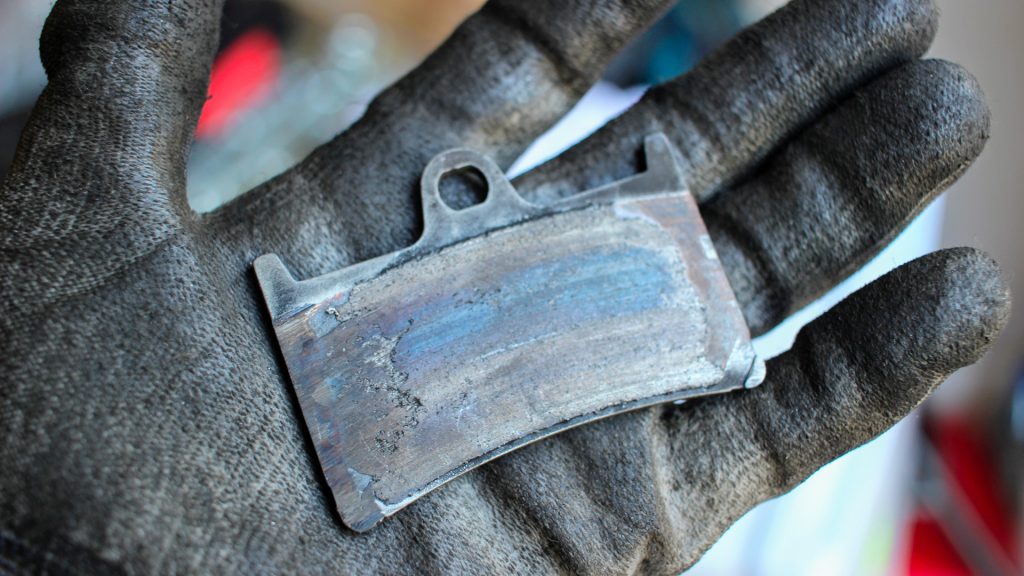
If you wear down all the friction material, you will start to wear down the steel backing plate. This can greatly damage your brake disc while resulting in particularly poor braking performance. Also, be aware that brake pads wear out faster when they are at the end of their life, and sometimes a few hard braking maneuvers can be enough to wear down these last few millimeters. You must avoid wearing your brake pads down to 100% at all costs.
How to find the right brake pads?
It couldn't be easier:
- Go to www.icasque.com
- Then hover your mouse (without clicking) over the menu and go to the Parts and accessories section
- Next, click just below the Braking sub-section on Brake pads
- All that is left is to select your vehicle (make, year, engine size, model) by clicking the "choose a vehicle" button in the left column.
Now the different brake pads available for your motorcycle will be displayed on the screen.
If you need help or advice, you can contact us here
Now that you have ordered your brake pads, we can get started!
What do you need?
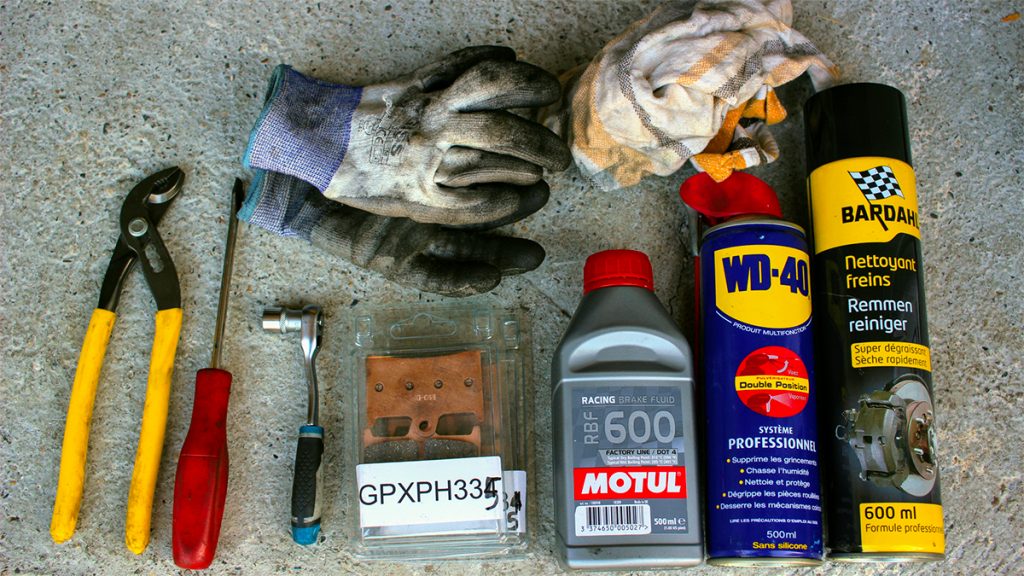
To change your brake pads, you will need tools and products:
- New brake pads, obviously;
- A pair of gloves, as the calipers are particularly dirty;
- Brake cleaner / cleaner;
- A penetrating oil that does not damage seals (WD-40 is your friend);
- Brake fluid to top up;
- Rags / paper towels;
- A ratchet with a socket suitable for your caliper bolts;
- A flat-head screwdriver;
- Possibly a pair of adjustable pliers.
Step one: removing the calipers
Let's get started, put on your gloves and take a look at the calipers! To begin, you will need to see how your brake pads are held in place. On all calipers, you will find one or more pins holding them in the caliper. This pin is either screwed in or held by cotter pins. If it is screwed in, I recommend unscrewing it before removing your calipers (otherwise you will struggle to unscrew it with one hand while holding the caliper with the other). If it is a pin with cotter pins, you can wait until you have removed the caliper to take it out.

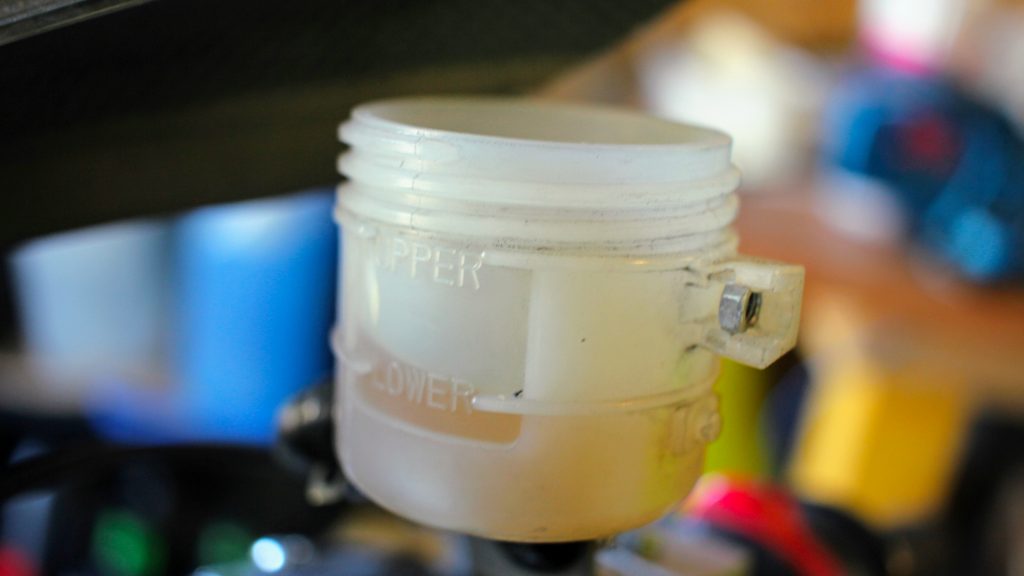
Before removing your calipers, I recommend removing a little brake fluid from the reservoir located on your master cylinder. Use a syringe or paper towels to drain some of the fluid and bring it down to the minimum level. Be very careful not to spill any, as it is highly corrosive to paint and skin.
Although some brake pads can be changed without removing the calipers, I still recommend removing them. You can take advantage of this to clean them and loosen them up if necessary. Whether they are axial or radial, you will generally have two bolts to unscrew to remove your calipers from your fork. To find out whether your calipers are axial or radial, look at the mounting bolts:
- If they are parallel to your wheel axle, then the caliper is axial;
- If the bolts are perpendicular to your wheel axle, then the caliper is radial (in my photos you can see a radial caliper).
You should only work on one caliper at a time. In fact, before reinstalling your new brake pads, you will need to push the pistons back into the caliper, and if your second caliper is not on its disc, you risk pushing the pistons out of that caliper. So unscrew one caliper and carefully remove it from its disc.
Step two: moving on to the brake pads
Now that your caliper is out, you can remove your brake pads. If you had not already removed the pin holding them, now is the time to do so. Without the pin, the brake pads are very easy to remove. This is the time to clean the inside of your caliper. The pistons are often seized because of all the brake dust that sticks to them.
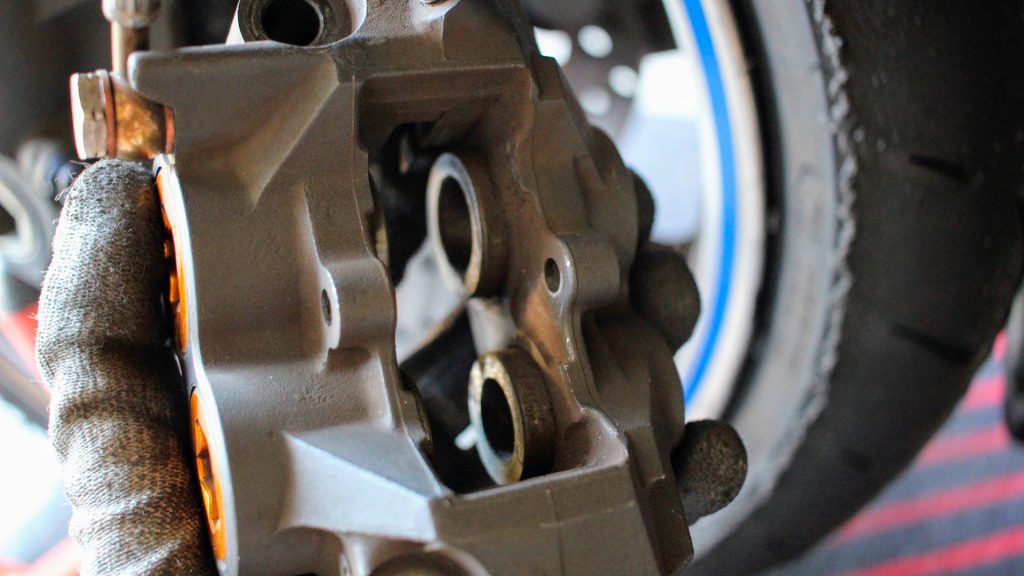
Next, apply some penetrating oil to your pistons as well as inside the caliper and rub with a soft cloth. Be careful not to scratch them by using a material that is too abrasive. An old toothbrush lying around can help you rub well all around the pistons and remove all the brake pad dust. Once everything is clean, you can push the pistons back into the caliper and take advantage of this to check that all your pistons move properly. When you press the brake lever, they should all extend slightly. If you cannot push the pistons back in, use your old brake pads by placing them normally back in the caliper and use a flat-head screwdriver to pry between the two.
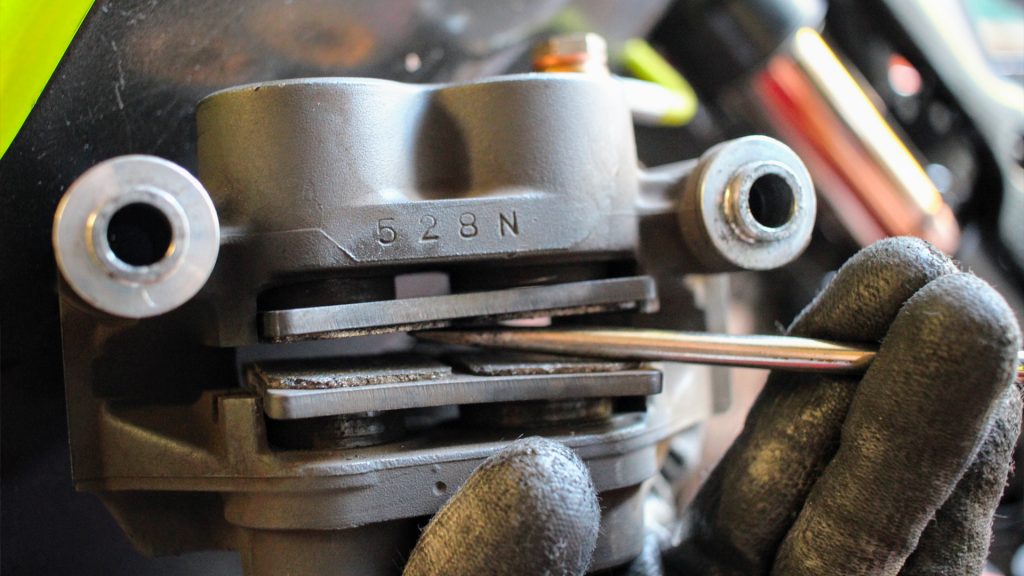
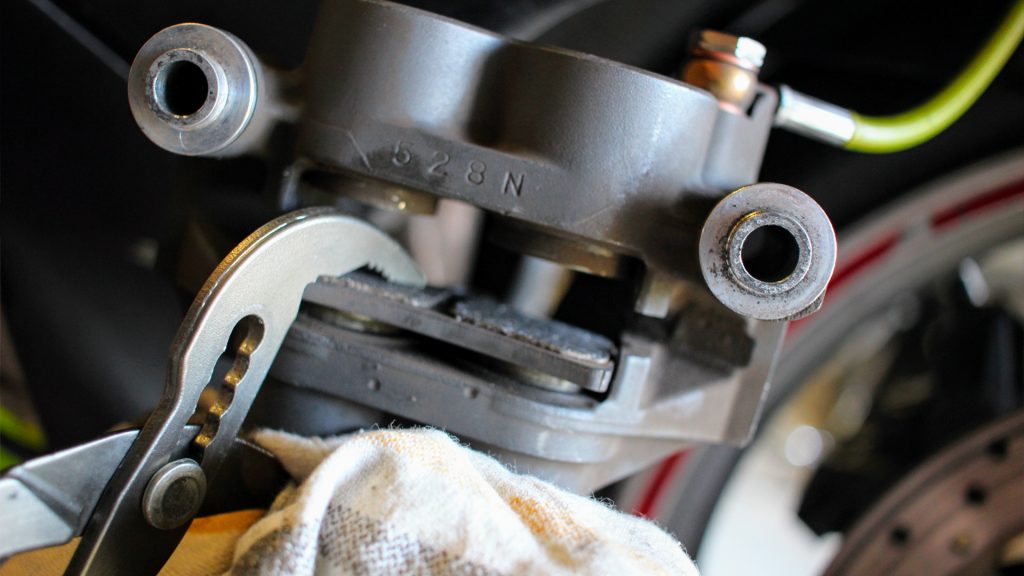
When you haven't changed your brake pads in a long time, it is common to find yourself facing one or two completely seized pistons that no longer move. In this case, you will need to be a little clever and block the pistons that work properly so that all the pressure coming from the master cylinder presses on the seized piston. To do this, use your old brake pads one last time and a large pair of pliers or a clamp to hold your pistons in place. Once the piston is out, you can clean it with penetrating oil and then push it back into the caliper like the others.
If your pistons are heavily seized, it may be time to remove them completely to clean them as well as the seals of your calipers. I will explain how to do this in another article. ;)
Step three: reassembling everything
Very well, your pistons are loosened and properly pushed back into the caliper. You can now arrange your new brake pads and replace the plate as well as the retaining pin. Keep the brake pads wide open and position the caliper on the disc. Screw the caliper bolts to the torque specified in your motorcycle's maintenance manual. Generally, they need to be tightened to around 35 Nm of torque. Don't hesitate to put a little thread locker on these bolts.
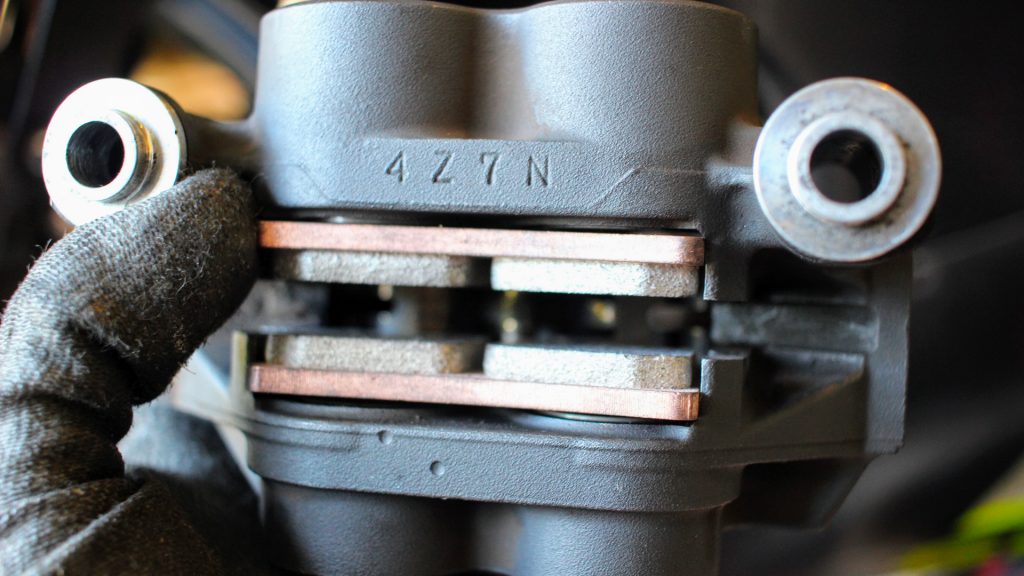
You can now move on to the second caliper. Remember to check the brake fluid level in your reservoir so that it does not overflow when you push the pistons back into the second one.
To finish...
Very important!!! Remember to bring your brake pads closer to the disc by braking in the air until you have resistance on your brake lever again. Otherwise, a bad surprise is guaranteed!
Now that your brake pads are changed and in place, you must absolutely check the brake fluid level in your reservoir and top it up if necessary. I also advise you to clean your discs with a degreaser and a cloth.
Finally, you will need to bed in your brake pads by avoiding long braking maneuvers for a few dozen kilometers. Potentially much less depending on the range of your brake pads. It only takes about twenty braking maneuvers to bed in sport brake pads, but for brake pads aimed at longevity, you will need ten times as many. One last piece of advice: favor firm but short braking maneuvers rather than light and long braking maneuvers.
By Bastien


